Enhancing Cross-Document Navigation with the View Transitions API
Source code
- Demo: https://view-transitions.trungvose.com/
- Github: https://github.com/trungvose/view-transitions-api
Understanding the View Transitions API
The View Transitions API helps developers create smooth animations when moving between different parts of a webpage. You’ll often notice this when going from one page to another (like from /page-1 to /page-2), but it can also make updates within the same page more dynamic.
Historically, achieving seamless animations during significant state changes has posed challenges, with full-page load transitions largely dependent on browser capabilities.
Last year, during Web Directions Code, I heard John Allsopp mention the View Transitions API, and its potential for simplifying this process immediately caught my attention. By leveraging CSS and a dash of JavaScript, it facilitates effortless transitioning of elements or entire pages across navigation. Initially aimed at single-page apps (SPAs), the API has evolved into a W3C Candidate Recommendation and now supports multi-page apps (MPAs) with the draft for cross-document navigation currently in public working draft status.
What does this mean for developers? It signifies the ability to achieve native-like animation experiences directly within the browser. Presently, the View Transitions API can be applied in the following scenarios:
- Transitioning between pages in traditional multi-page apps, including those built with server-side rendering frameworks like ASP.NET MVC, PHP, Ruby, or static site generators such as Jekyll or Hugo.
- Enhancing transitions within single-page applications (SPAs) crafted with frameworks like Angular, React, or Vue.
- Dynamically transitioning DOM changes within any web page.
This guide will look into into multi-page apps initially, followed by documentation for single-page apps in subsequent parts.
Traditional Cross-Document Navigation
Conventionally, when navigating from one page to another (domain.com/page-1 to domain.com/page-2), the browser loads a fresh HTML document for the new page, replacing the existing one. Essentially, the previous HTML is discarded, and the new one is rendered.
The following code snippets, adapted from this source with minor adjustments, illustrate this process.
<!-- page-1.html -->
<!DOCTYPE html>
<html lang="en">
  <head>
    <meta charset="utf-8" />
    <meta name="viewport" content="width=device-width, initial-scale=1" />
    <link rel="icon" href="https://glitch.com/favicon.ico" />
    <title>Cross fade demo</title>
    <link rel="stylesheet" href="/styles.css" />
  </head>
  <body>
    <header class="main-header">View Transitions Demo</header>
    <main class="content">
      <h1 class="content-title">Page 1</h1>
      <p>This is the content for page 1.</p>
      <p>Why not check out <a href="./page-2.html">page 2</a>?</p>
      <div class="circle small" style="background-color: red"></div>
    </main>
  </body>
</html>

<!-- page-2.html -->
<!DOCTYPE html>
<html lang="en">
  <head>
    <meta charset="utf-8" />
    <meta name="viewport" content="width=device-width, initial-scale=1" />
    <link rel="icon" href="https://glitch.com/favicon.ico" />
    <title>Cross fade demo</title>
    <link rel="stylesheet" href="/styles.css" />
  </head>
  <body>
    <header class="main-header">
      <a href="./page-1.html" class="back-and-title">
        <svg class="back-icon" viewBox="0 0 24 24">
          <path
            d="M20 11H7.8l5.6-5.6L12 4l-8 8 8 8 1.4-1.4L7.8 13H20v-2z"
          ></path>
        </svg>
        <span>View Transitions Demo</span>
      </a>
    </header>
    <main class="content">
      <h1 class="content-title">Page 2</h1>
      <p>This is the content for page 2.</p>
      <ol>
        <li>It</li>
        <li>also</li>
        <li>has</li>
        <li>a</li>
        <li>list!</li>
      </ol>
      <p>
        Ok, that's enough fun, you can go back to
        <a href="./page-1.html">page 1</a>.
      </p>
      <div
        class="circle large"
        style="background-color: blue; position: absolute; top: 300px; left: 700px;"
      ></div>
    </main>
  </body>
</html>
See Demo: MPA without View Transitions
When served via an HTTP server, clicking links between these pages results in straightforward page loads.

Leveraging View Transitions for Cross-Document Navigation
As of April 8, 2024, CSS View Transitions Module Level 2 has been drafted and implemented in Chrome Canary, enabling smooth transitions between pages in multi-page apps.
Enabling View Transitions in Chrome Canary
To begin utilizing View Transitions, enable the feature in Chrome Canary by navigating to:
chrome://flags/#view-transition-on-navigationSelect Enabled and restart the browser.
Incorporating @view-transition Directive
As per the draft, the @view-transition rule is pivotal for triggering view transitions during navigation. It should be included in both source and destination documents. Here’s an example:
/* In both documents */
@view-transition {
  navigation: auto;
}
With this directive in place, page transitions, such as crossfades, become seamlessly integrated across the site.

See Demo: MPA with View Transitions: Default fade-in animation
Understanding -ua-view-transition-fade-in
When troubleshooting with DevTools, you might observe the -ua-view-transition-fade-in keyframe animation applied to the ::view-transition-new pseudo-element.
The ::view-transition-new CSS pseudo-element represents the “new” view state of a view transition — a real-time representation of the new view after the transition. Hence, you’ll notice the fade-in effect during page navigation, transitioning from opacity: 0 to opacity: 1, as defined in the default styling included in the UA stylesheet:
@keyframes -ua-view-transition-fade-in {
  from {
    opacity: 0;
  }
}

html::view-transition-new(*) {
  position: absolute;
  inset-block-start: 0;
  inline-size: 100%;
  block-size: auto;

  animation-name: -ua-view-transition-fade-in;
  animation-duration: inherit;
  animation-fill-mode: inherit;
}
For more information, refer to ::view-transition-new.
Customizing Transitions
While default fade-in/out animations are provided by the View Transitions API, developers can tailor transitions to suit their needs. For instance, creating a slide-in effect can be achieved by defining custom keyframes and applying them to the ::view-transition-new pseudo-element.
@keyframes slide-in {
  from {
    transform: translateX(100px);
  }
  to {
    transform: translateX(0);
  }
}

html::view-transition-new(root) {
  animation-name: slide-in;
}
This customization injects personality into transitions, enhancing the user experience.

See Demo: MPA with View Transitions: Custom animation
Transitioning Multiple Elements
While previous demonstrations focused on whole-page transitions, View Transitions also support transitioning specific elements. This is achieved by assigning a unique view-transition-name to the element.
<!-- In page-1.html -->
<div class="circle small" style="view-transition-name: circle; background-color: red"></div>

<!-- In page-2.html -->
<div class="circle large" style="view-transition-name: circle; background-color: blue;"></div>
Even when the elements are not identical across pages, the View Transitions API intelligently manages transitions based on shared view-transition-name attributes.

See Demo: MPA with View Transitions: Transitioning multiple elements
Unique Limitations for Lists
It’s crucial to remember that each view-transition-name must be unique. If you try to transition elements with the same name simultaneously, the transitions may fail. To ensure smooth transitions across all elements, it’s essential to manage transition names carefully.
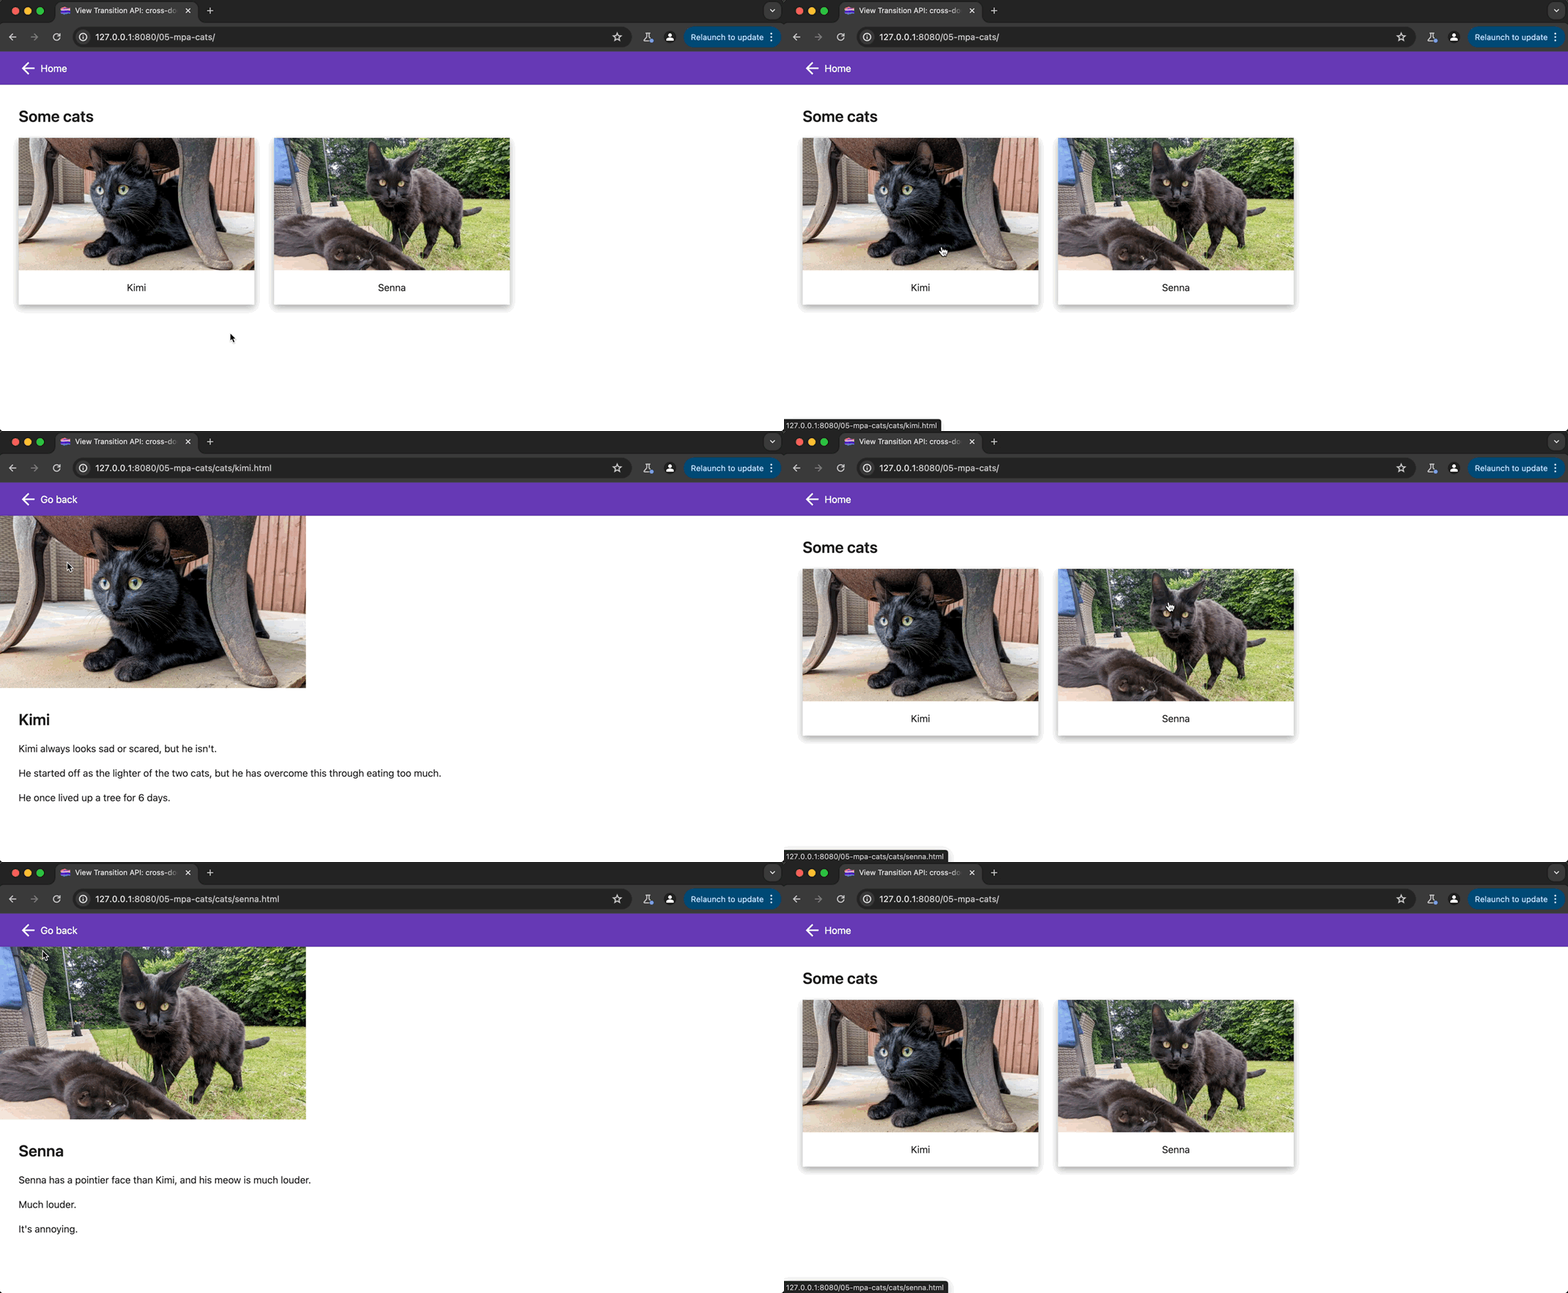
Consider these examples of two cats without view transitions applied:

When I applied the @view-transition rule, you can notice the fade-in effect as seen before:

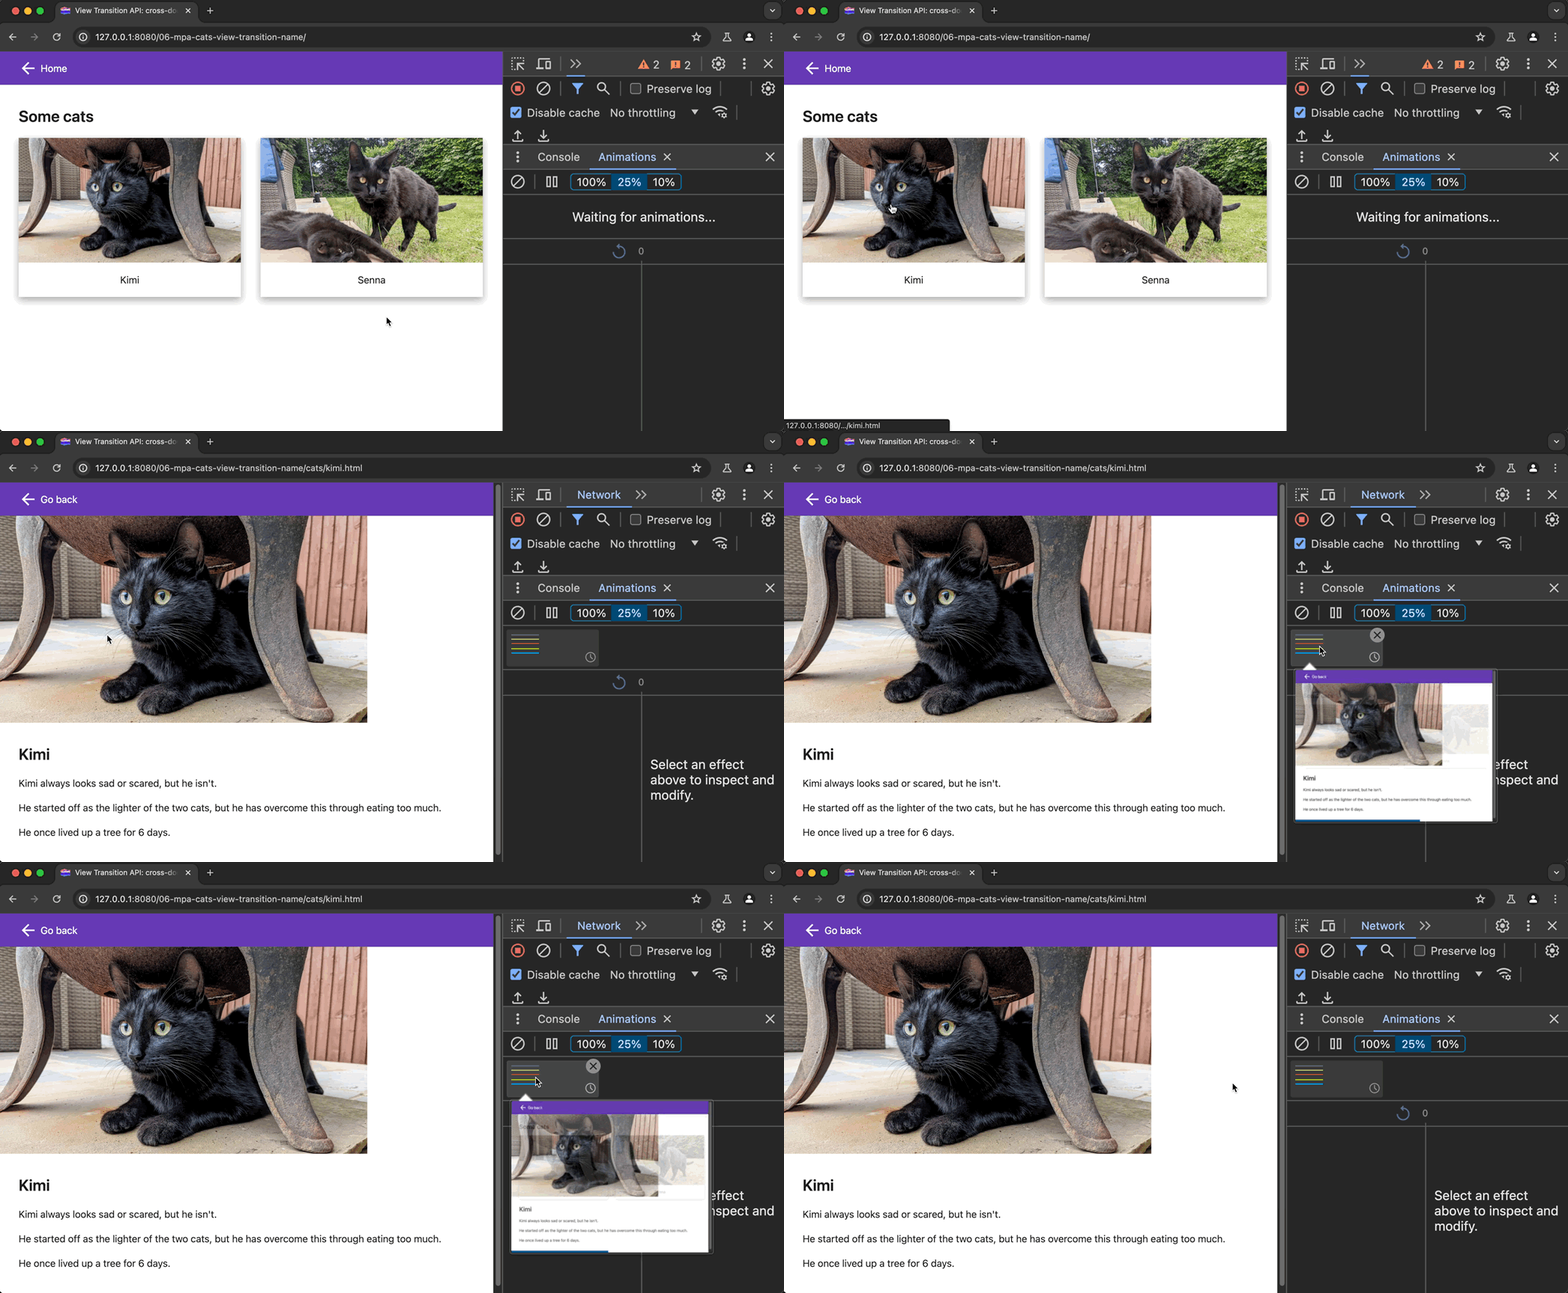
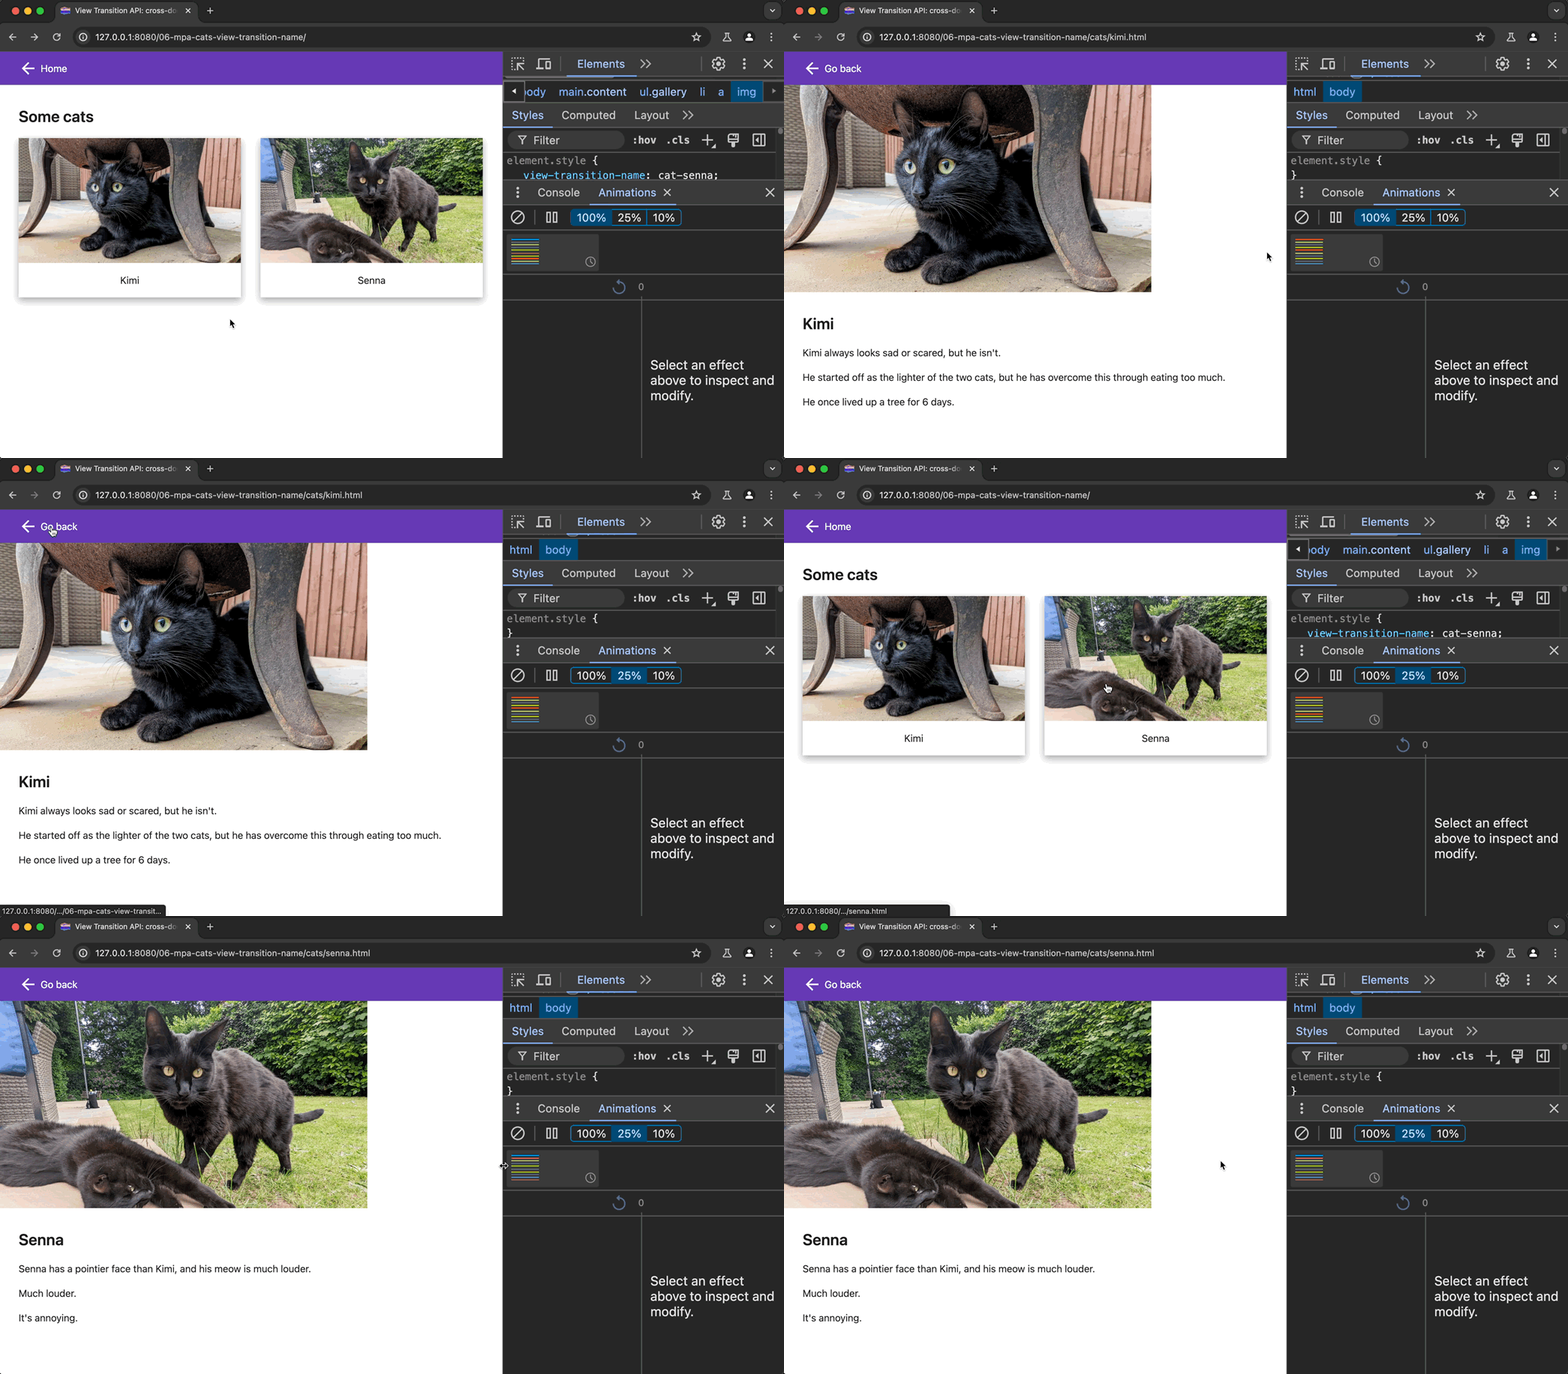
However, when I applied view-transition-name: cat to both cats, the transition didn’t work, and the fade-in animation was lost. So, I assigned each cat a different view-transition-name:
Now you can see the cat image smoothly transitioning between the listing page and the detail page:

See Demo: MPA with View Transitions: Cats
This means if you’re animating from a list-view to a details-view and back, ensure each element has a unique view-transition-name in your template. For example, in a list of cats:
<div className="cats">
  {cats.map(cat => (
    <a key={cat.id} style={{ viewTransitionName: `cat-${cat.id}` }} href={cat.url}>
      {cat.title}
    </a>
  ))}
</div>
Assigning a unique name like cat-kimi in your rendered HTML. Then, use the same “slug” in your cat template to transition the link into the article header:
<article>
  <header style={{ viewTransitionName: `cat-${cat.id}` }}>
    <h1>{cat.title}</h1>
  </header>
  {/* Additional content goes here */}
</article>
Understanding the Mechanism
Dave’s explanation provides valuable insight into how the View Transitions API operates. Essentially, the browser captures snapshots of DOM elements before and after the transition, then smoothly interpolates between these states to create seamless animations.
This seemingly simple mechanism is the foundation of the sophisticated transitions enabled by the View Transitions API.

Conclusion
With View Transitions, developers can effortlessly enhance user experiences by seamlessly transitioning between pages and elements within multi-page apps. By following simple directives and carefully managing transition names, the API empowers developers to create engaging, dynamic web experiences without the need for complex JavaScript solutions.


